Mailissa Administration#
Basic Configuration#
To access the administrational part of the Mailissa Portal you need your M365 credentials. Open a browser and navigate to the URL
Login using your M365 username and password. The first user account that logs in will be the tenant admin for Mailissa.
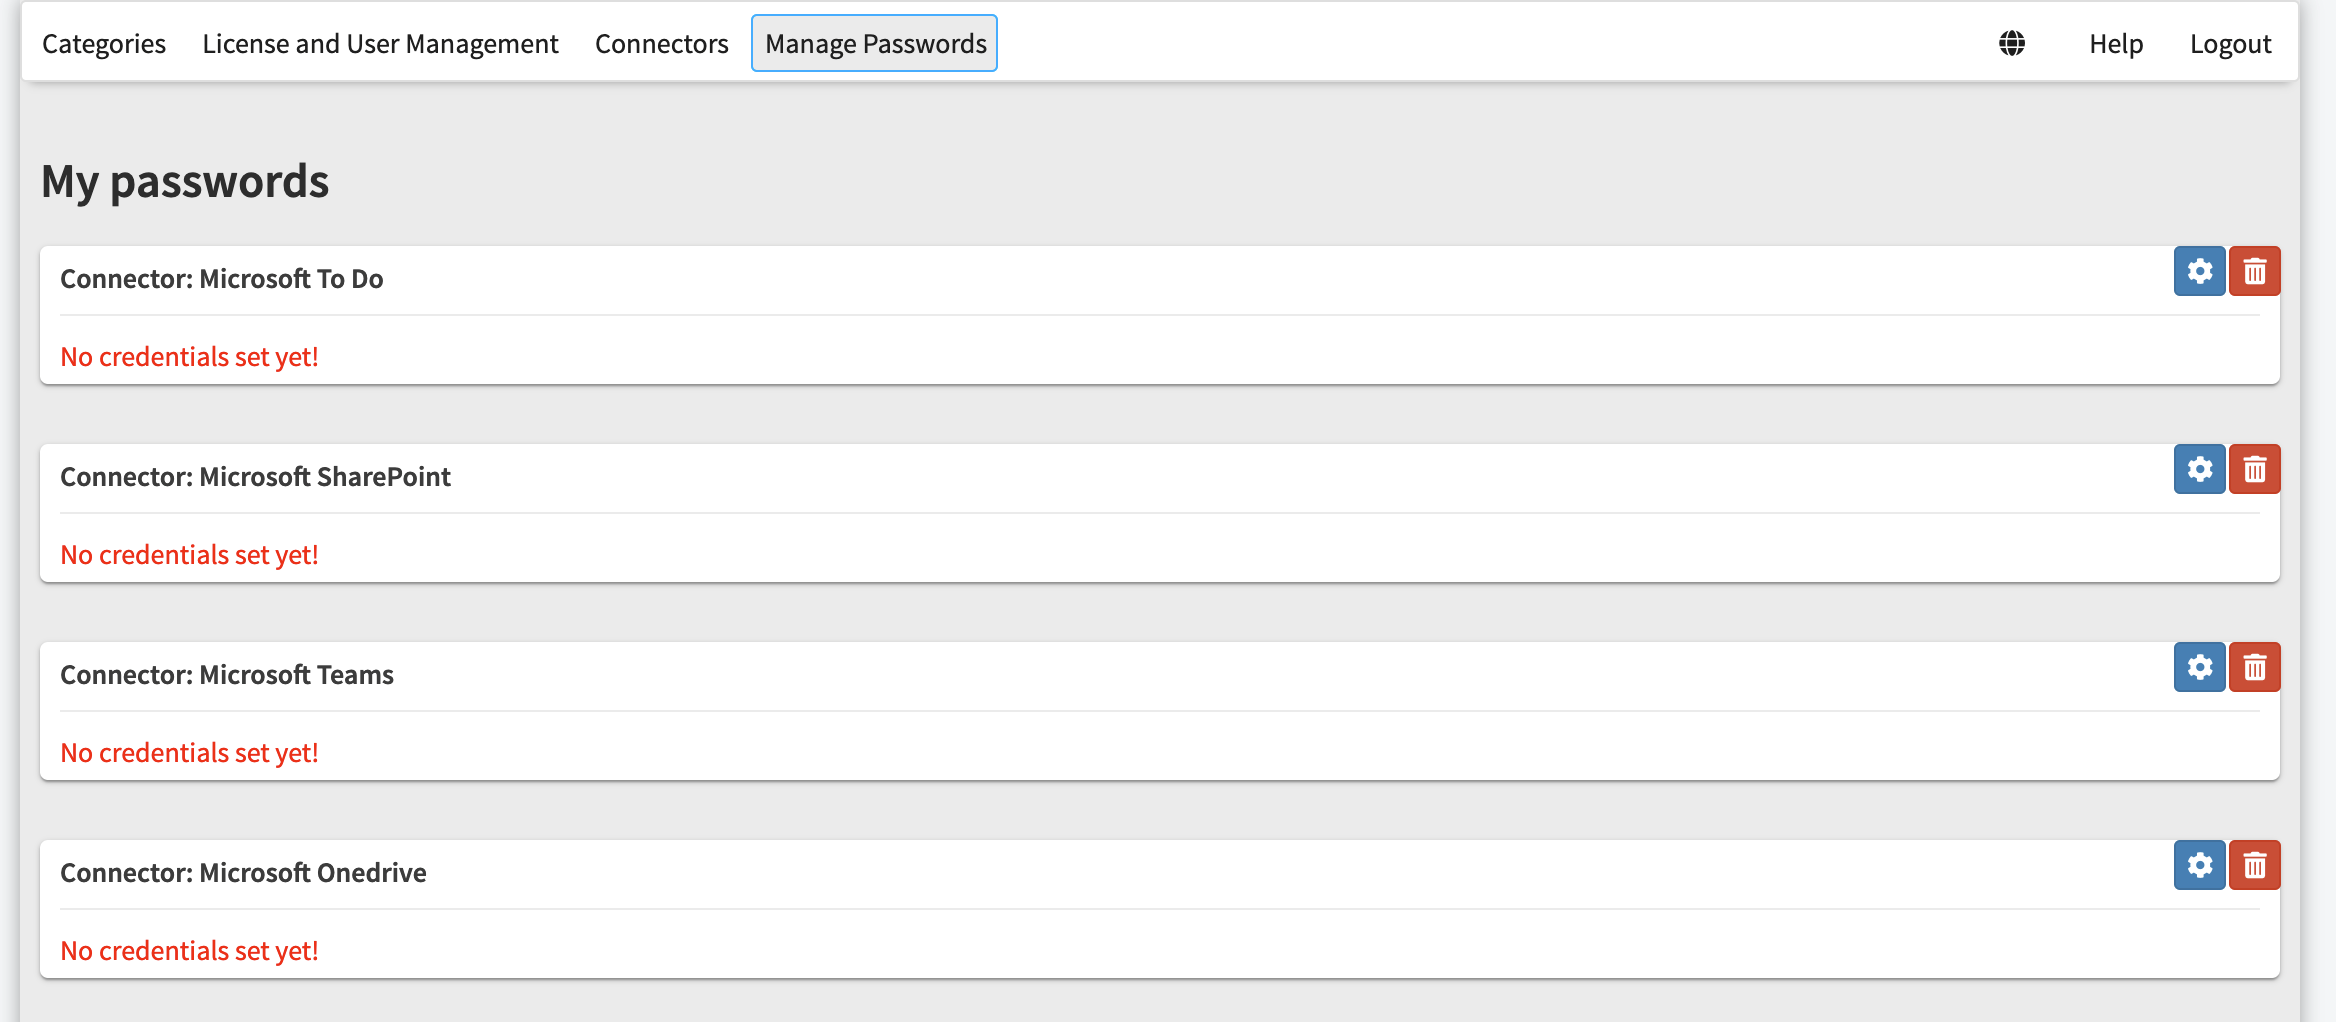
After you're logged in successfully you will be presented with an overview page of your credentials that are defined for the connectors. If you are starting with a new instance you will see no credentials here. Credentials have to be set with the add-in itself, they cannot be managed from this page.
Notice
You will be logged out after 3 minutes of inactivity
Sections#
All configuration pages in Mailissa have a top navigation bar that contains the following:
- Categories
- License and User Management
- Connectors
- Manage Passwords
- Language Selector
- Help (Link to our support pages)
- Logout action

This documentation will guide you through all of the parts.
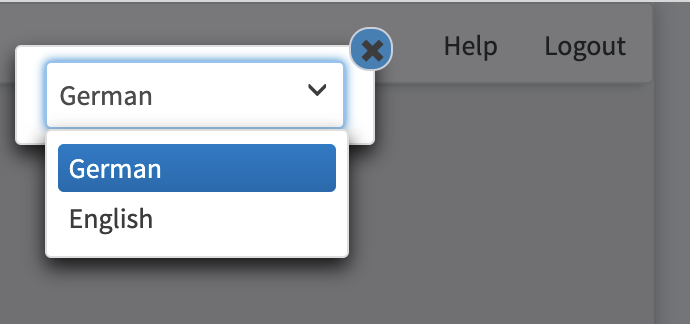
Select your Language#
Mailissa comes in two languages, English and German. To switch to your preferred language, click on the globe icon and select the language from the list.
Get Help#
Click on Help to open our support pages. It's a good idea to bookmark the URL https://support.mailissa.com/portal for later.
You can also create a new ticket directly by clicking on the icon in the lower right corner.

Manage Categories#
For the Team module of Mailissa you can assign categories to mails. On this page you can edit those categories, translate them or assign different colors to them.
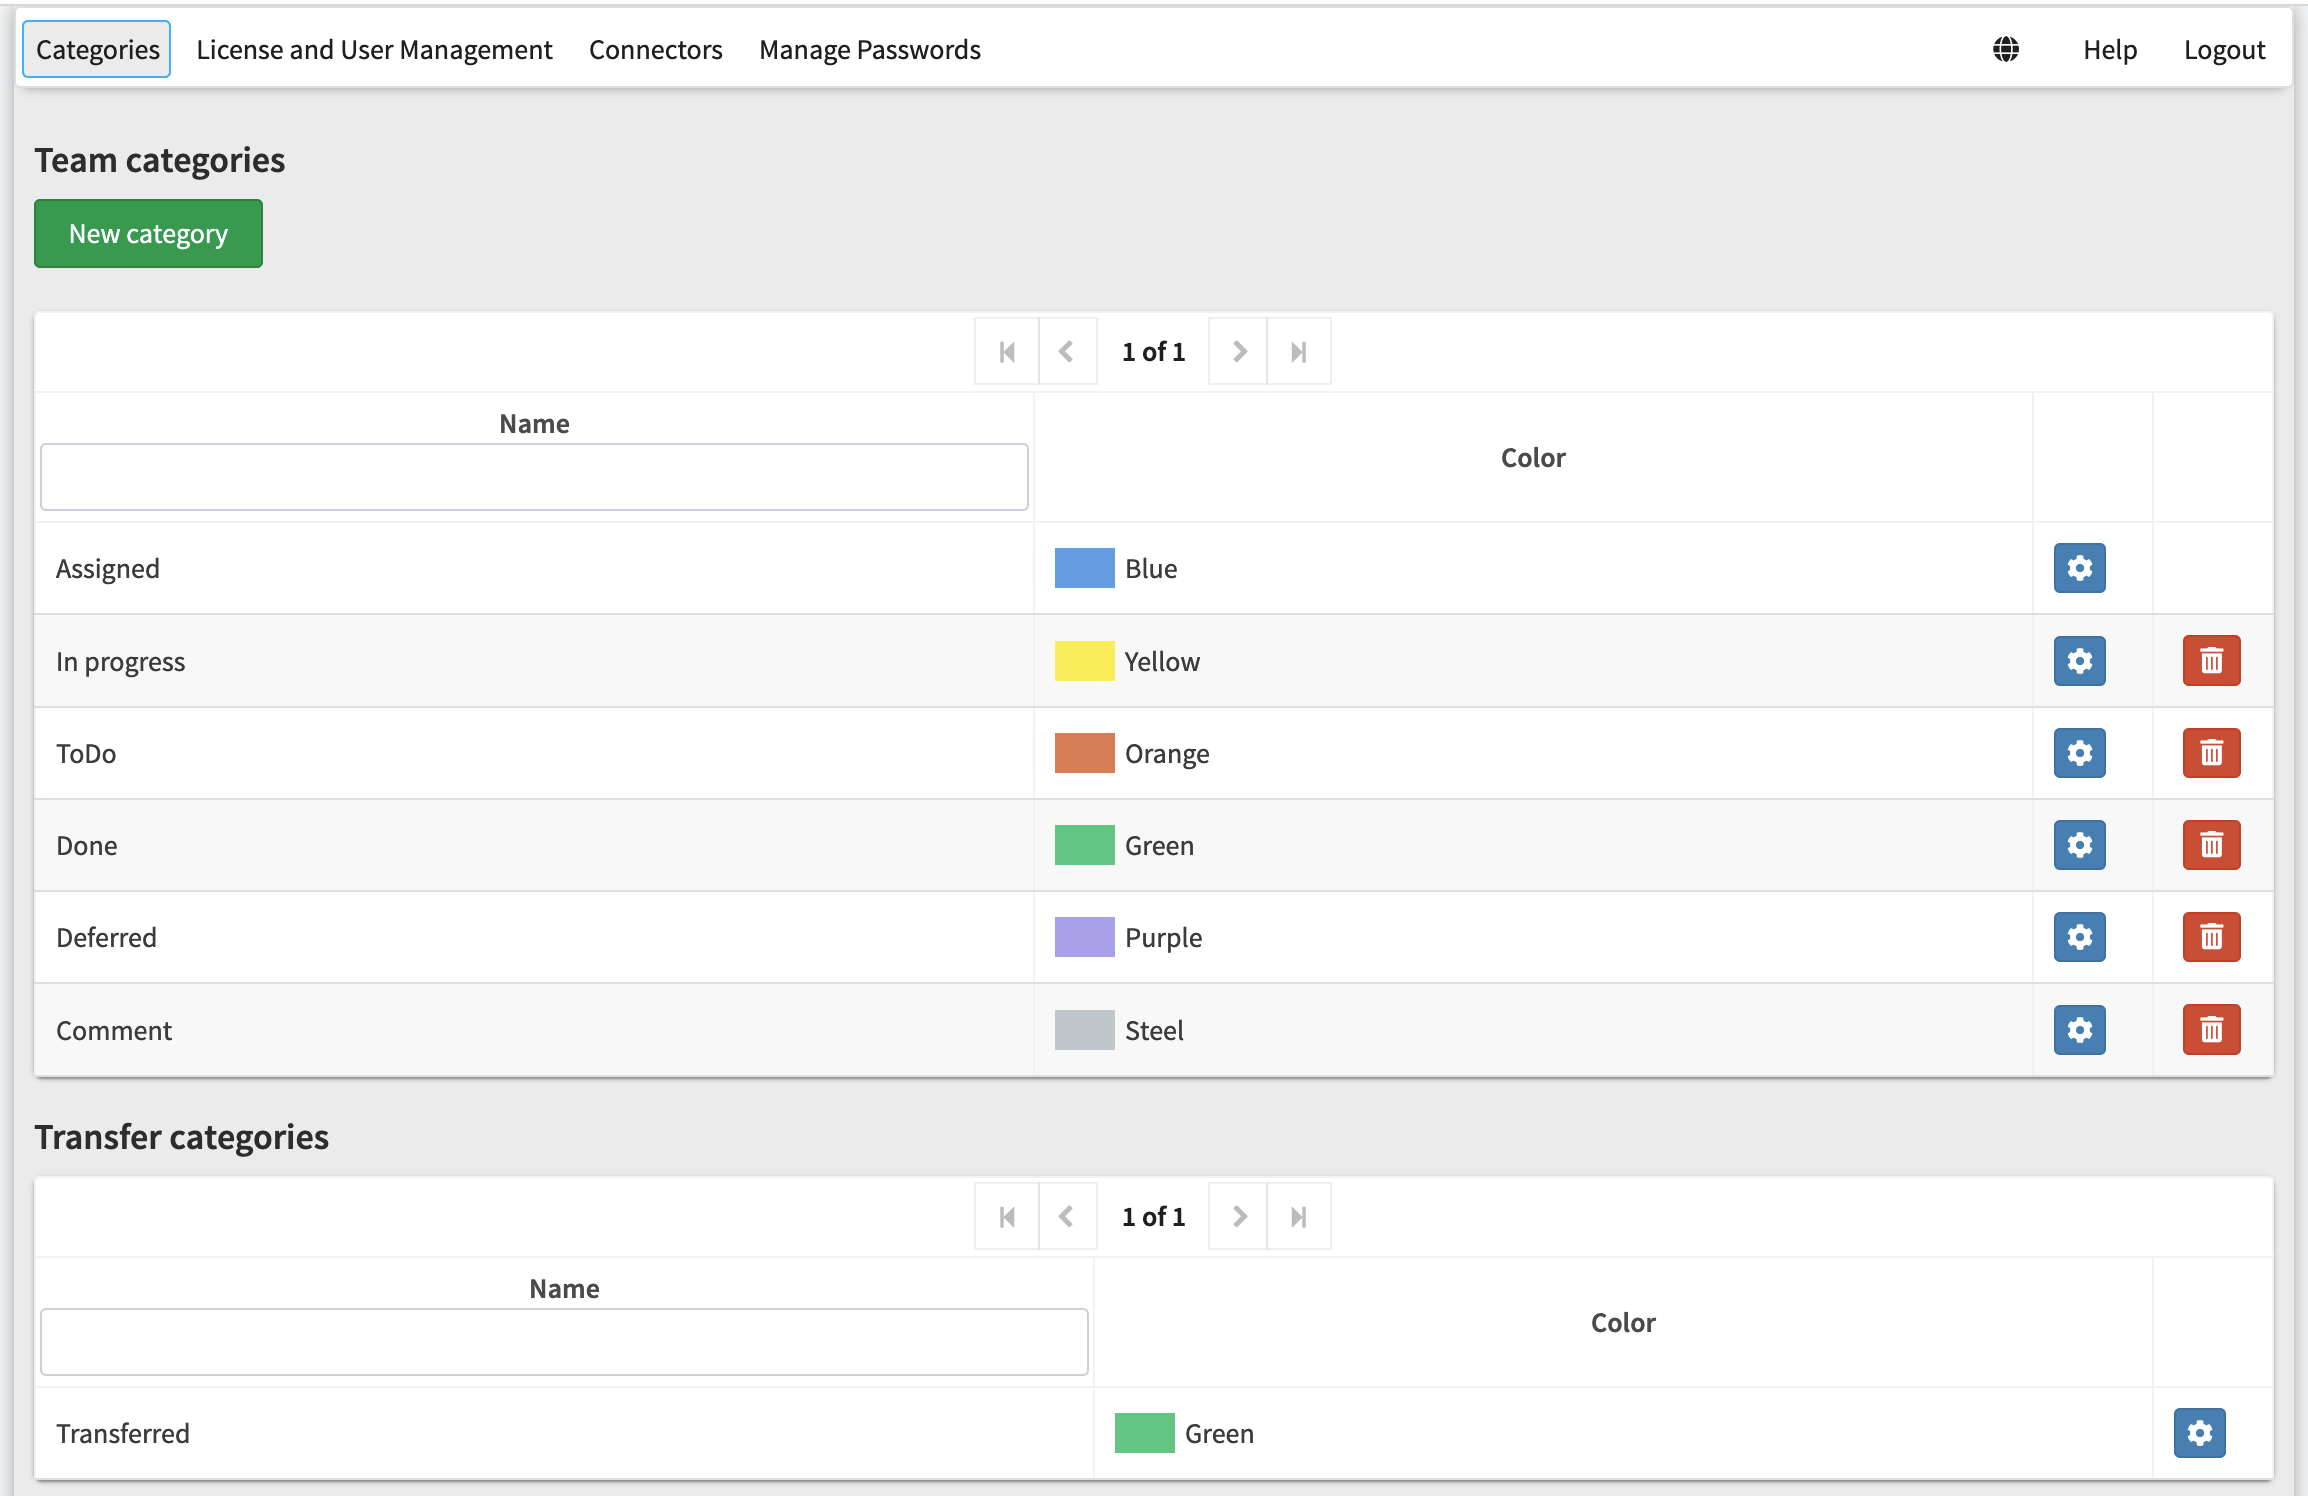
You can also add and remove custom categories here. To edit an existing category, simply click on the blue cogs icon. In the edit dialog you can define the category's name and the color.
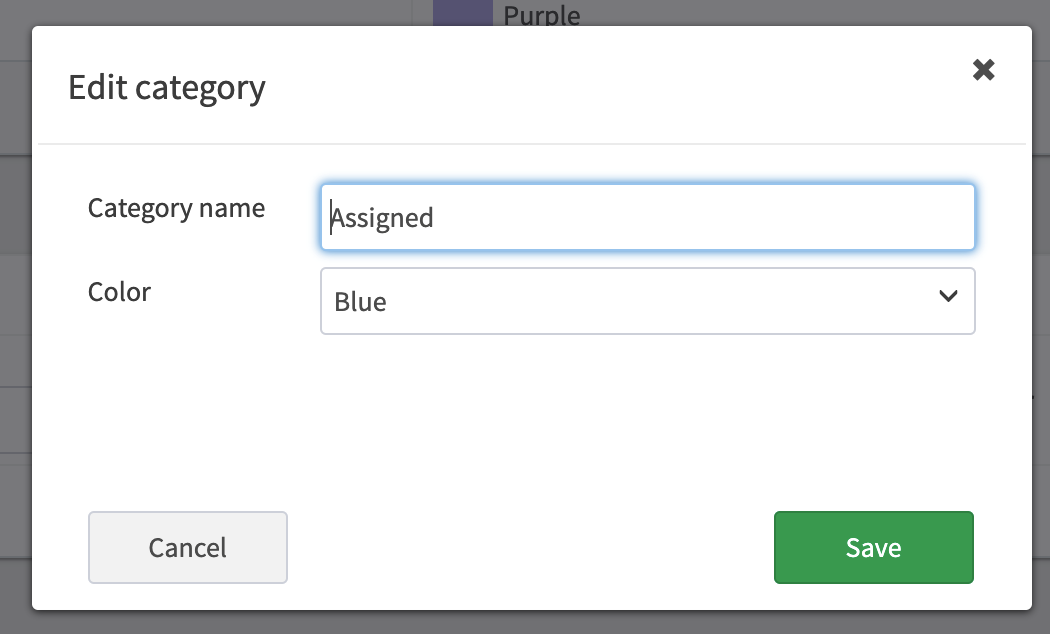
To mark an e-mail as transferred there is a special category which you can also edit and change the name and the color.
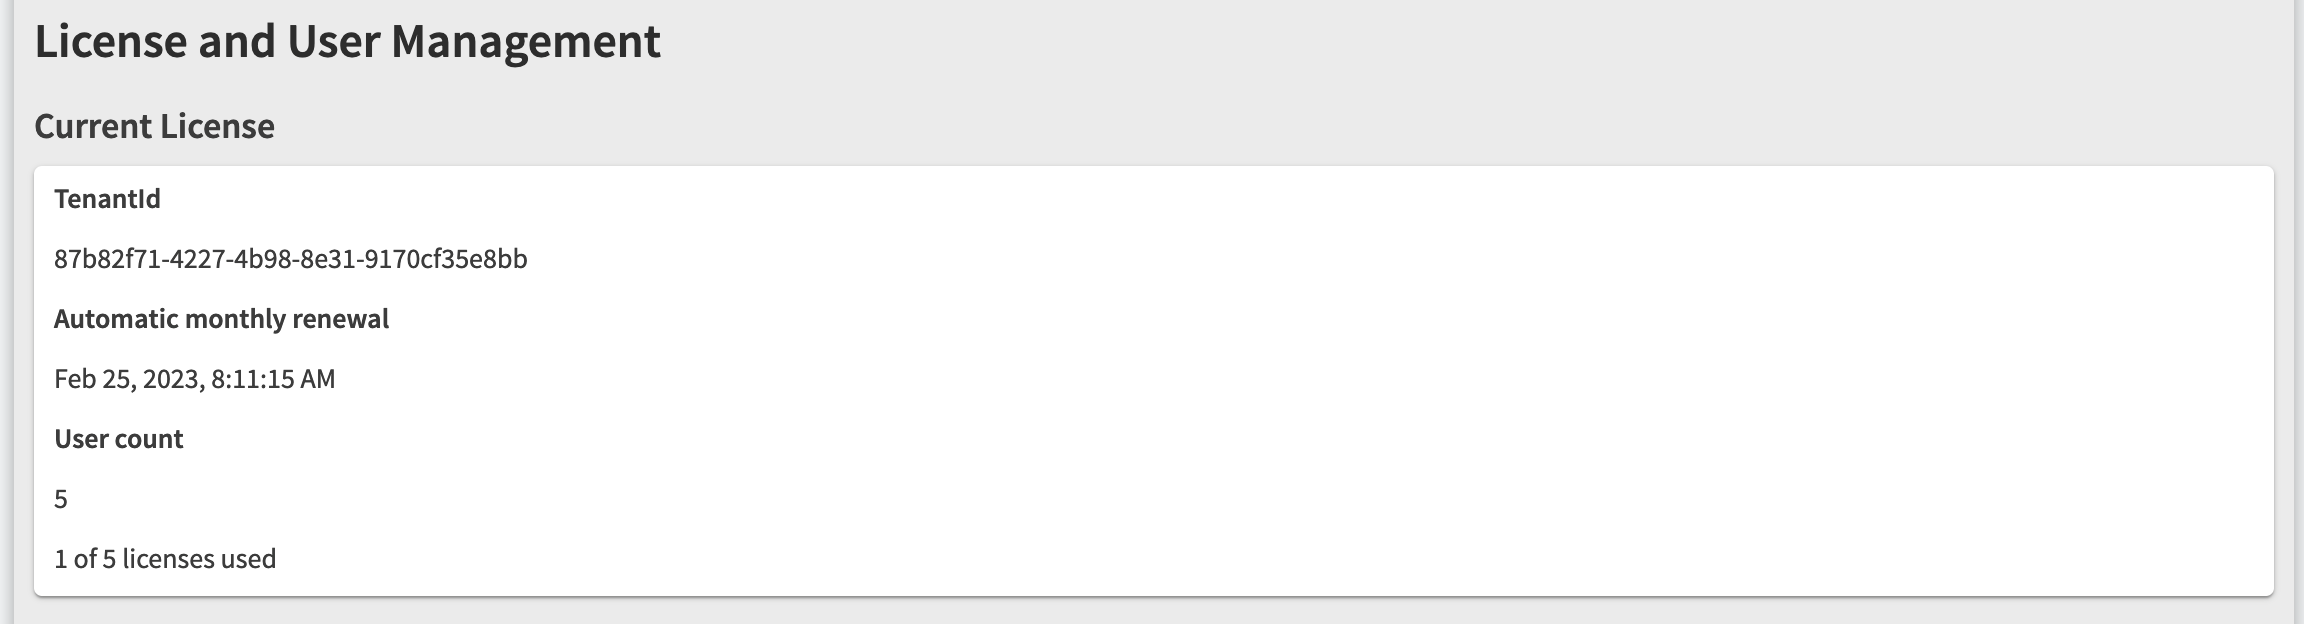
License and User Management#
This section is devided into two parts:
- Current License
- Registered Users
The first section is read-only and displays your license information about your subscription. It displays your Tenant-ID, the date until the license is valid (and when it's potentionally renewed automatically) and the remaining licenses left for users.
The second section is an overview of all users who logged in with the add-in and used the Mailissa service. As an admin you can also define which user account is enabled in general and if it can act as a User Administrator and/or Tenant Administrator.
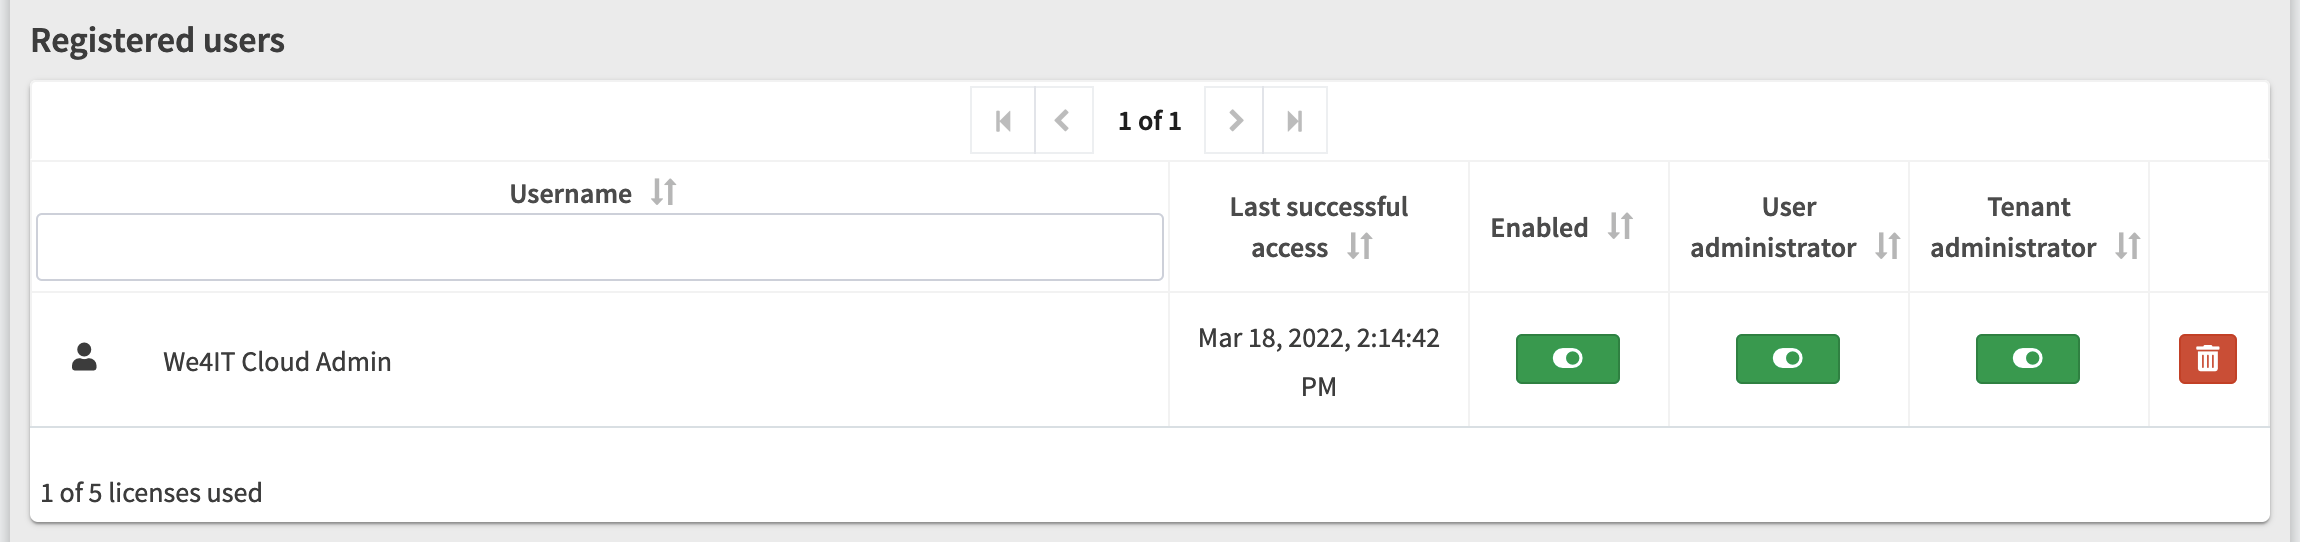
If you are running out of free licenses you have the option to delete users from Mailissa by clicking on the Trash icon.
Connectors#
This area presents an overview of all connectors that are available for your subscription. Each connector section shows basic information such as
- the name of the connector
- the users/groups who are auhorized to use the connector
- the status of the connector (enabled or disabled)
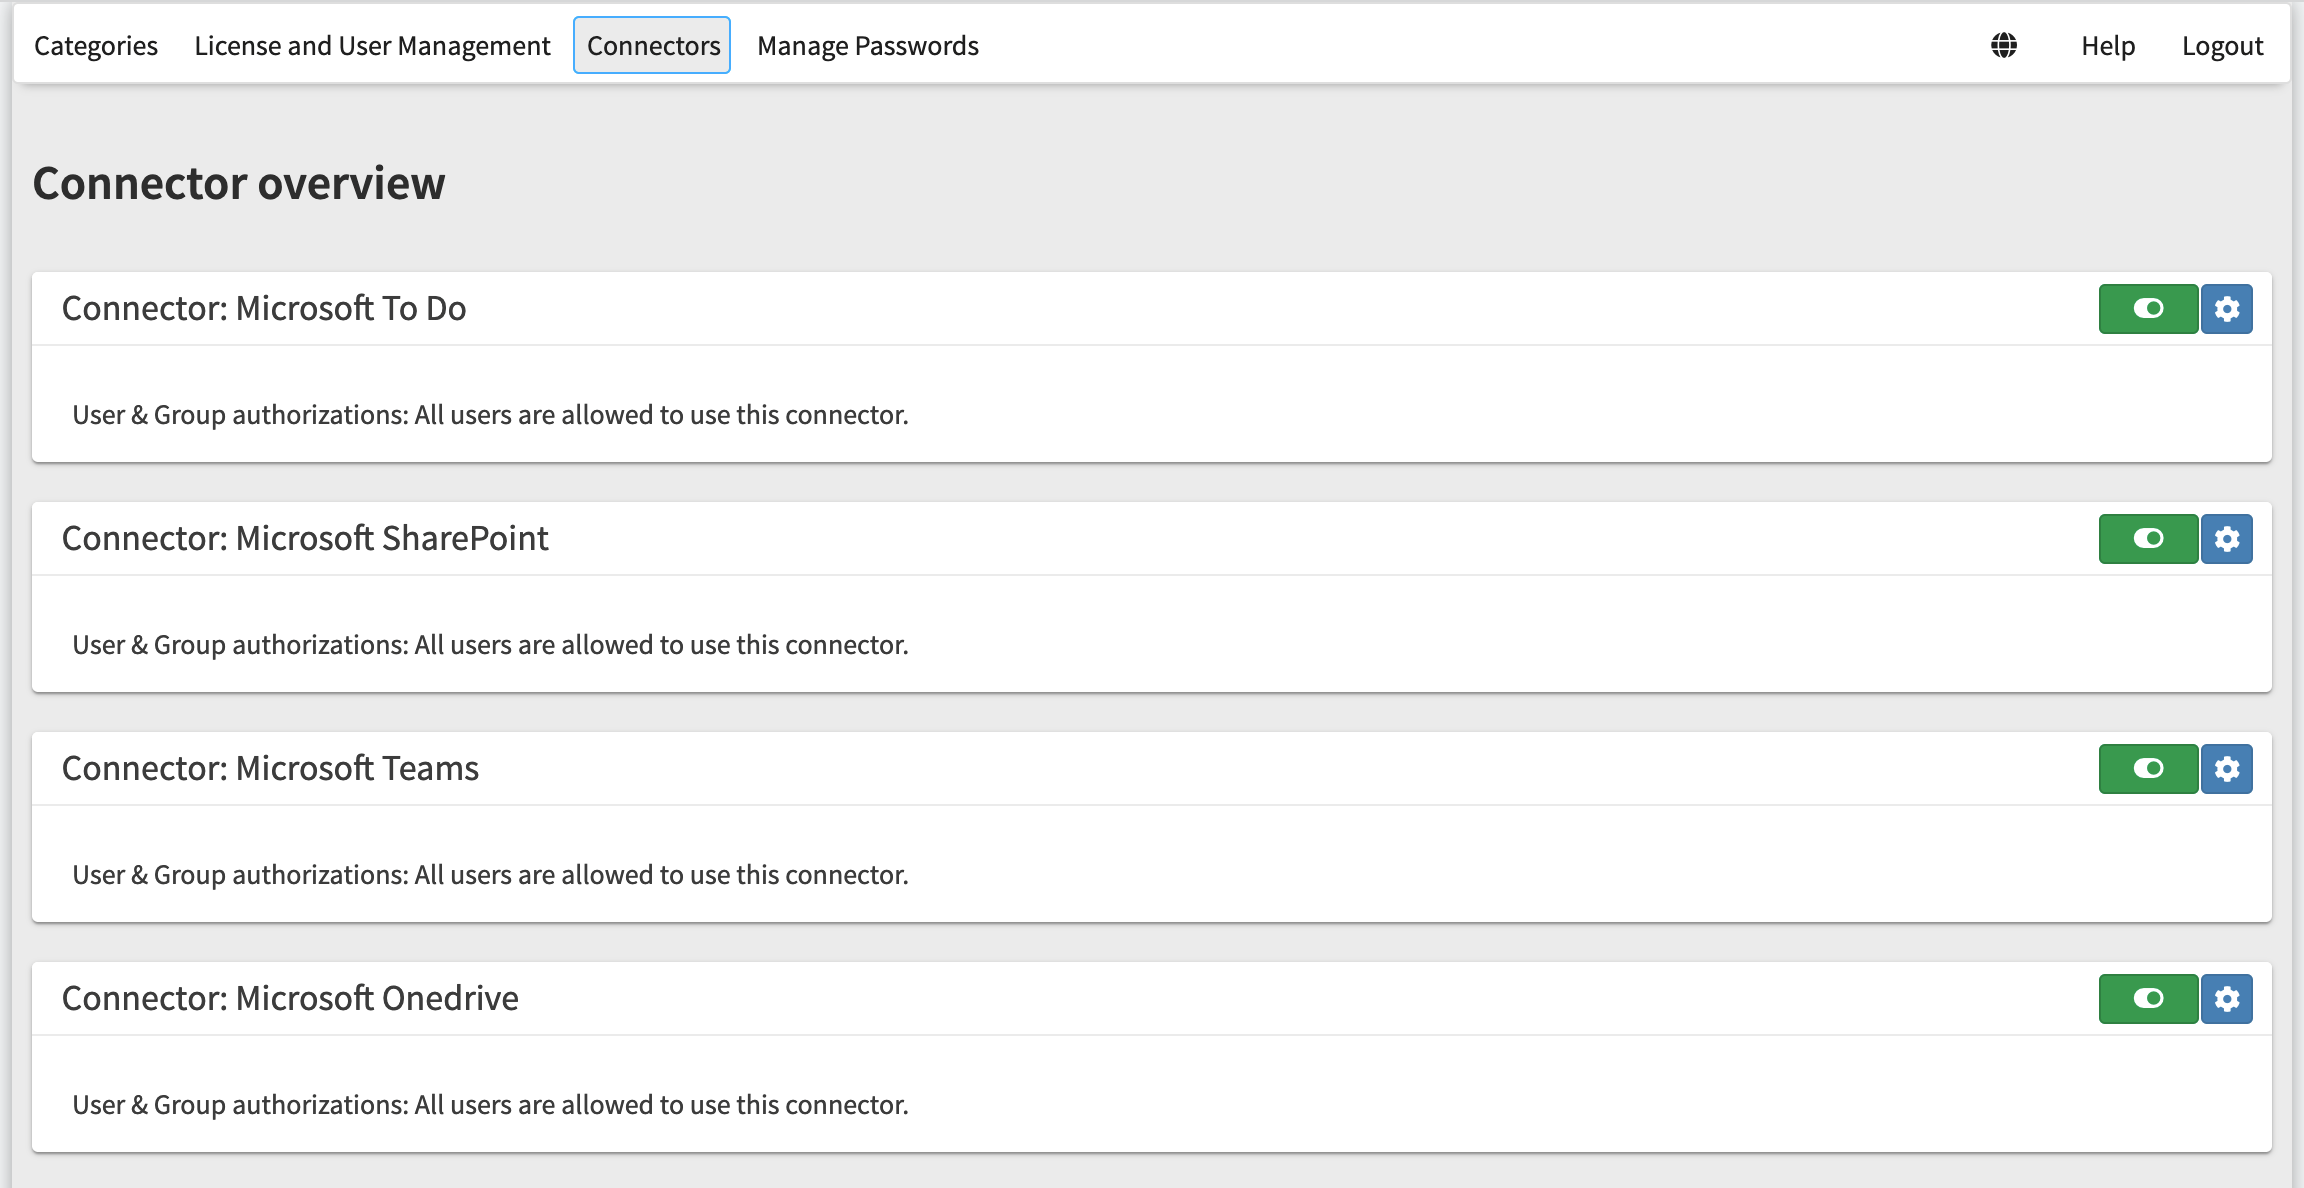
You can easily enable or disable a connector in general by clicking the green switch button. A green switch indicates that the connector is enabled.
You can access the detailed settings by clicking the blue cog button.
The details page shows the icon (not changeable for default connectors), the name, its status and the users/groups that can use this connector. You can rename the connector if you want and/or add a comment for it.
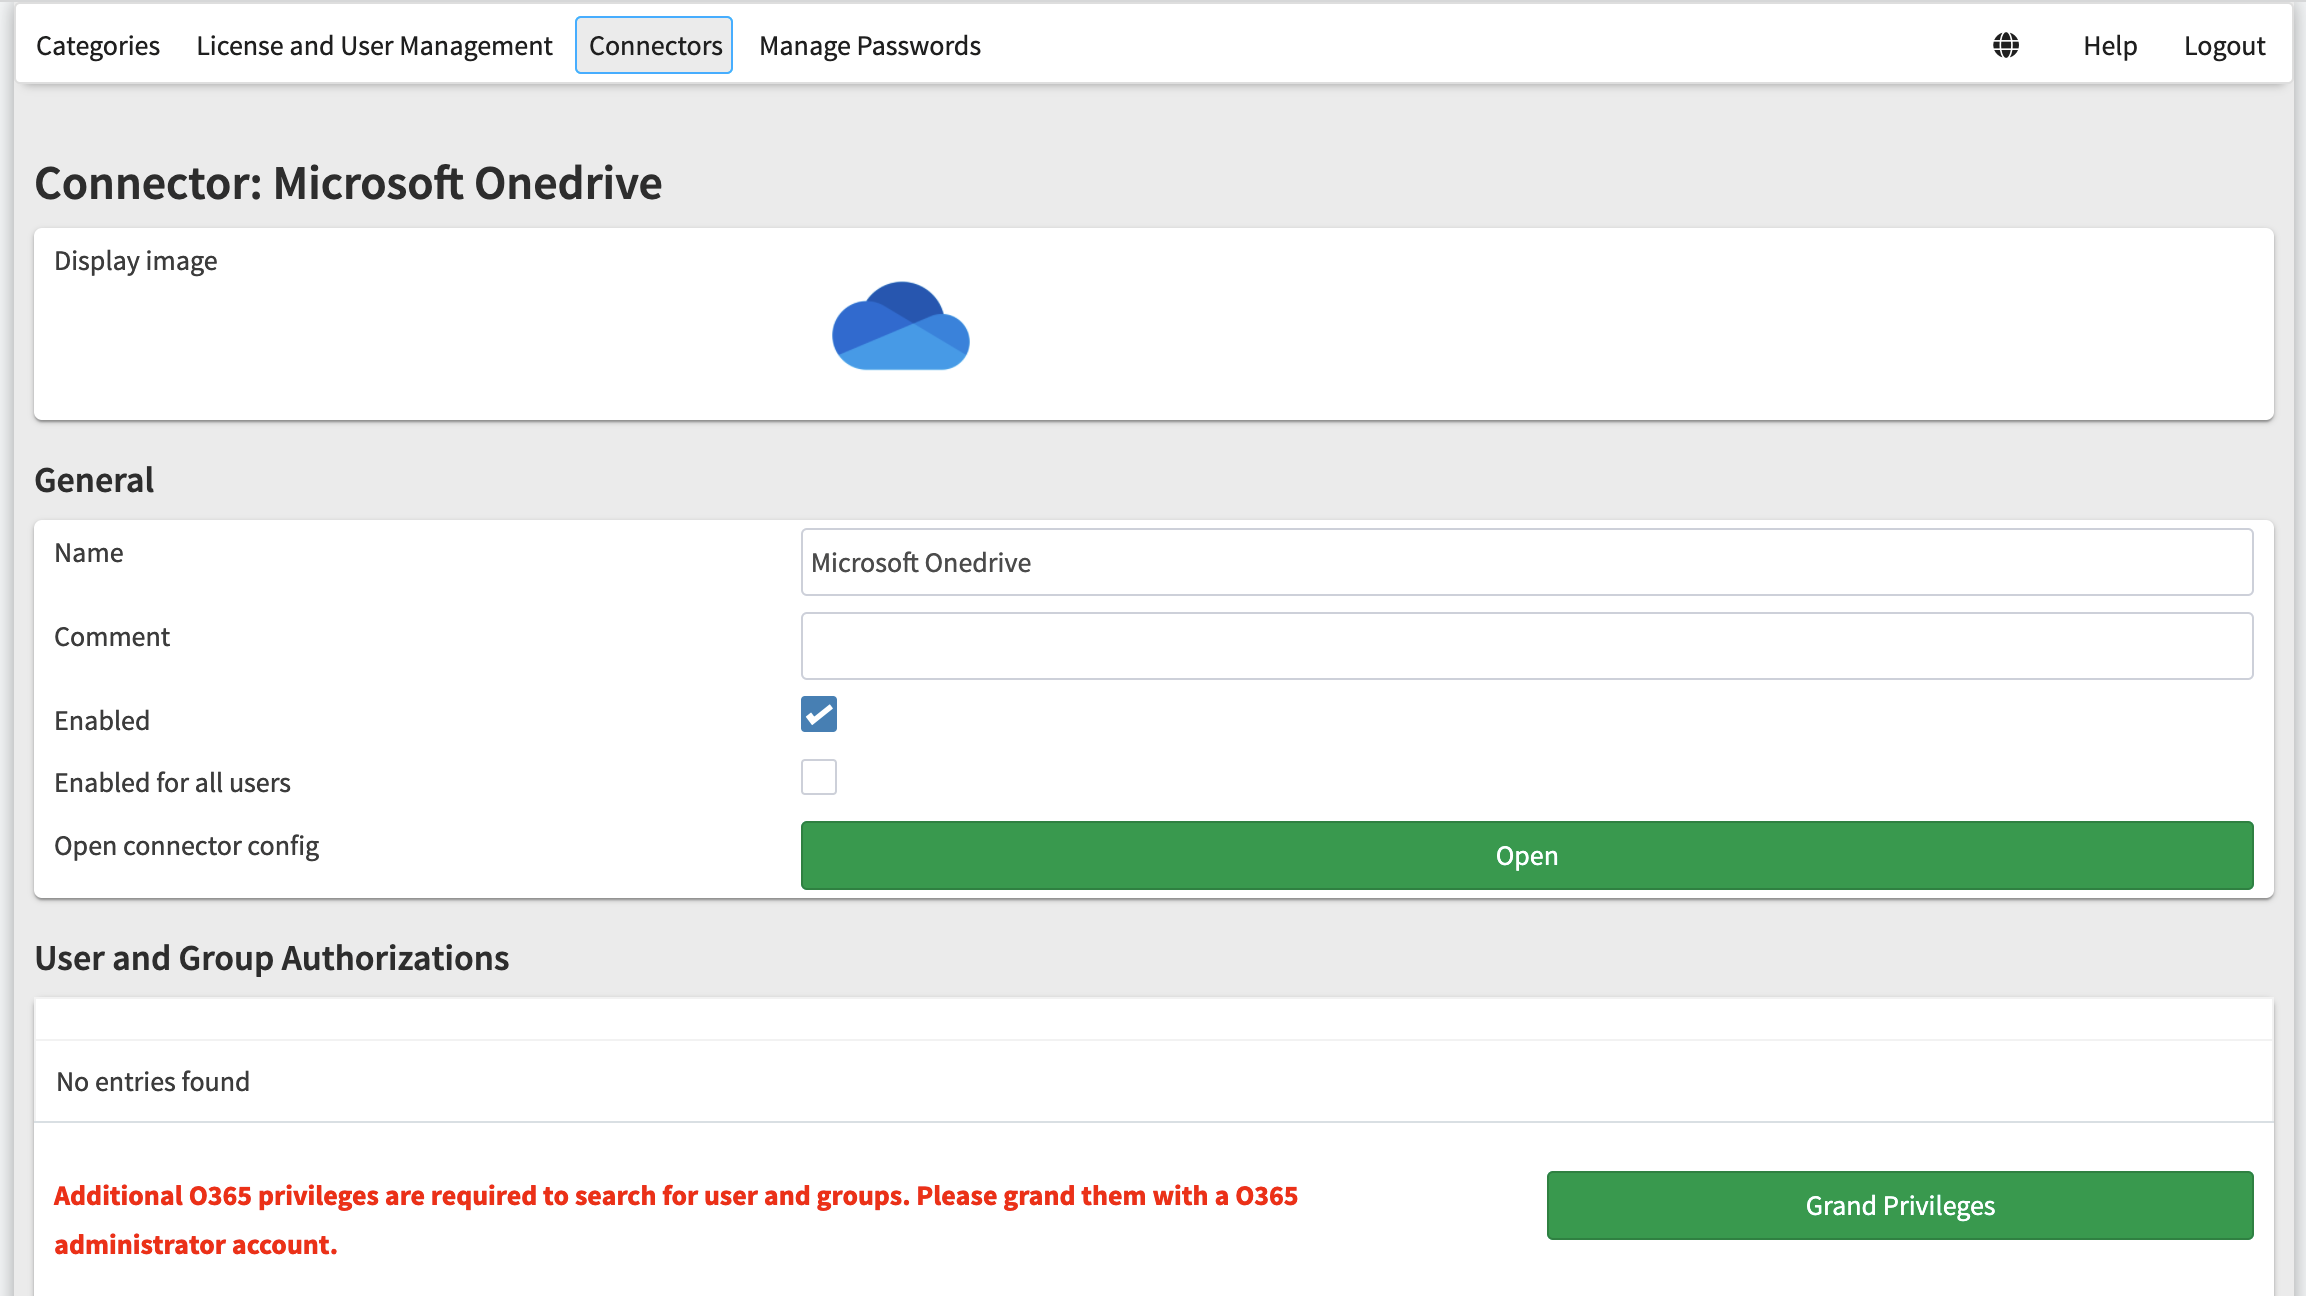
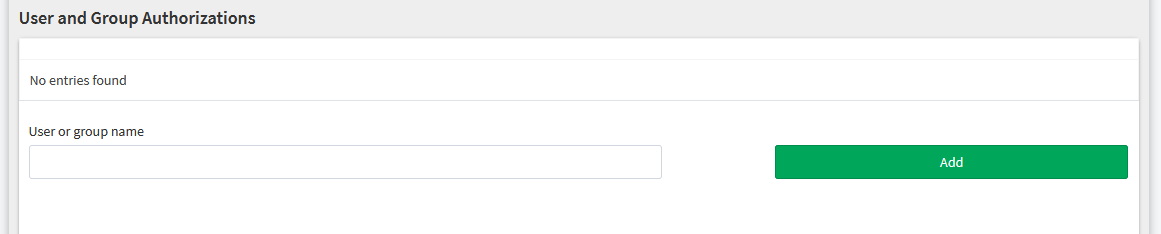
If you de-select the option Enabled for all users you will be able to assign this connector to specified M365 users and / or groups in the panel below.
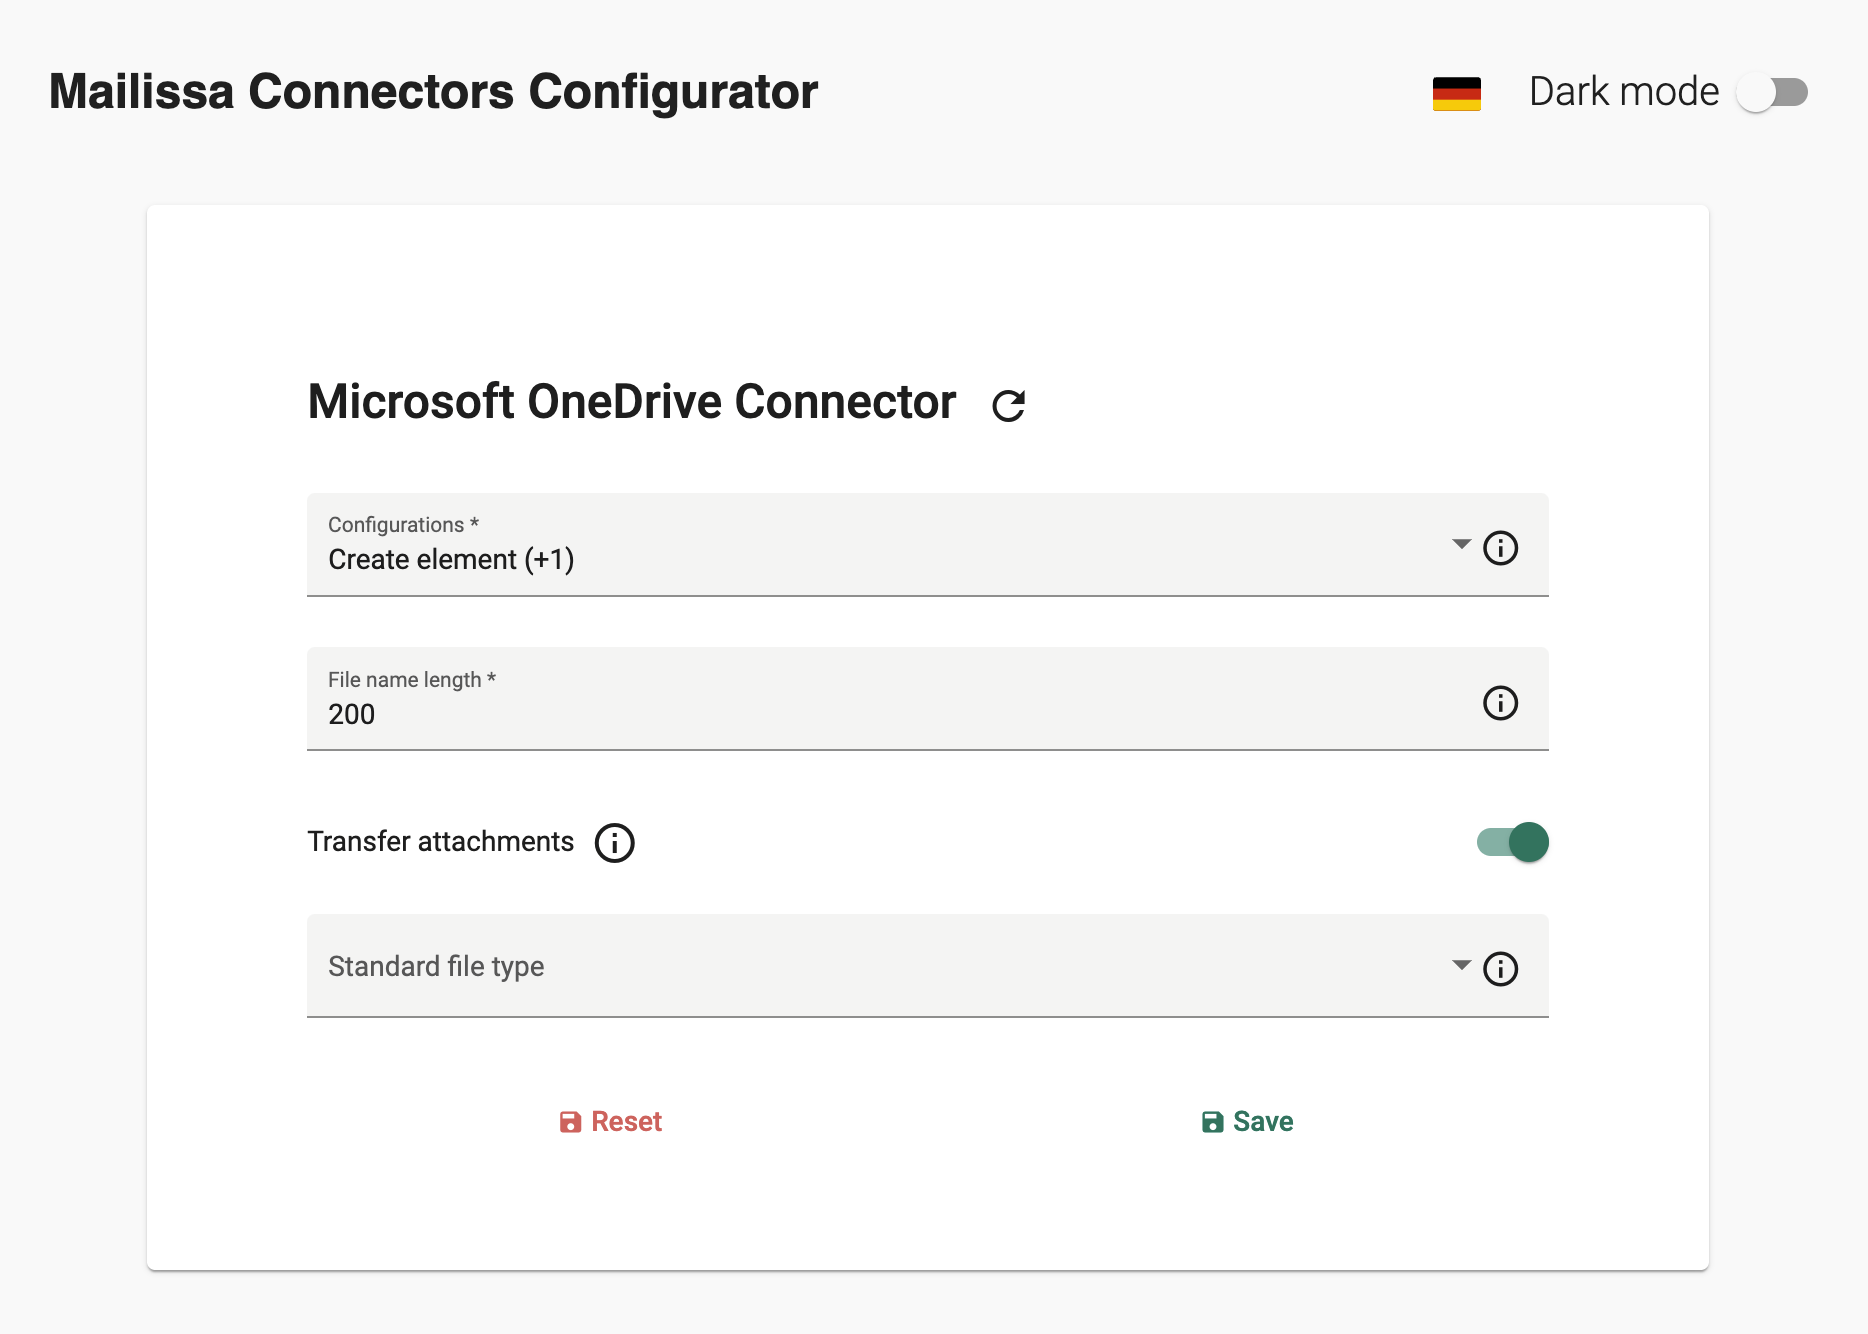
Each connector also has an additional detailed configuration option. You can open it by clicking the green Open button.
Manage Passwords#
This area is available for every user to handle credentials for every connector service available in your subscription.

There is actually no option to set or modify your credentials here as you always use or update them directly when using the add-in. However, you can delete credentials for a certain connector service as a user here. After removing the credentials of a connector service, you will be asked to log in again when using the connector service in the add-in.